
Creme Brûlée is a light, satisfying, and delicious dessert that almost everyone loves. It’s often served at high end restaurants, making it seem complex and hard to make at home. But this simple and tasty vegan version is incredibly easy to pull off, and is perfect for both impressing your friends at a dinner party or enjoying on a week night after a nice meal.

This vegan Creme brûlée combines two easy things; a vegan coconut custard, and caramelized sugar topping. It has a super refreshing and light taste, and the caramelized sugar on top gives it a warm, sweet, comforting finish that every dessert needs. It pairs great with a cup of coffee or fresh fruit on the side. I feel like its the perfect end-of-summer treat. Part of what makes this vegan version much easier is that it does not contain egg, so we remove a lot of the complications that come with making custard. This recipe requires very few ingredients, many you probably already have at home!

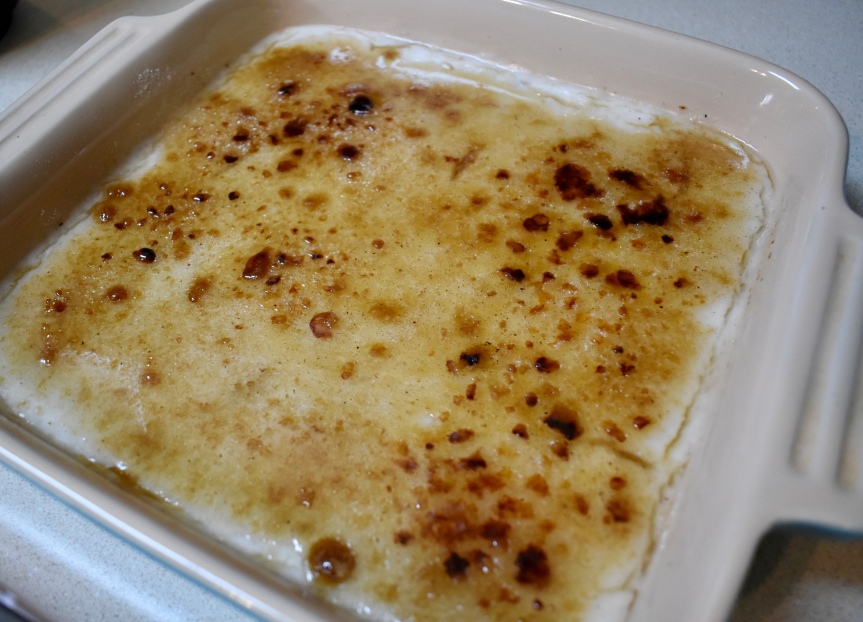
I made this dish in a simple square 8×8 pan this time, but I highly recommend using ramekins for this recipe if you have them for several reasons. For one, it makes the presentation much better. This recipe will fit perfectly into four medium sized ramekins, making cute individual proportions for your guests or family. Scooping out the custard from the pan will still be tasty, but not near as pretty. Second, it makes the recipe even easier. The custard will cool much faster in the ramekins then in the square pan and the sugar on top will caramelize much quicker, saving you time. You’ll also get a more even ratio of sugar and custard in each bite!
This Creme Brûlée does need to be made in advance, either preparing the custard the night before or morning of the day you need it so that it has plenty of time to set in the fridge. The custard needs to be very cold before you attempt to caramelize the top! The last thing to note about this Creme Brûlée is that it does not hold well as leftovers. It is best served within the hour of toasting the sugar on top. If you try to refrigerate leftovers, the caramelized top begins to break down and the custard separates. Serve as soon as possible. If you like the custard, you can always make it separately and keep it in the fridge for up to four days when covered tightly! It is a creamy and wonderful treat all on its own.
A handheld kitchen torch is the safest and easiest to use, but almost any blow torch will work for Creme brûlée. (Propane preferred!)
Ingredients (4 servings)

FOR CUSTARD
- 2 cups full fat coconut milk
- 1 cup almond milk
- 1/3 cup cornstarch or arrowroot powder
- 1/3 cup sugar
- 1/2 tablespoon vanilla
- 1/4 tablespoons coconut extract
- 2 tablespoon black, freshly made coffee

FOR TOPPING
- 1/4 cup sugar
- 1/4 cup brown sugar
- 2 teaspoons cinnamon
- 2 teaspoons nutmeg
Instructions
- In a medium saucepan, combine the coconut milk, almond milk, and cornstarch or arrowroot powder. Stir well until there are as few lumps as possible and the powder is dissolved. Get your coffee brewing at this time! You can make a fuller pot and drink the rest, or make the smallest amount possible since we only need 2 tablespoons.
- Add in the sugar, vanilla, and coconut extract and mix well. Bring the mixture to a boil on medium heat, stirring constantly. Reduce heat to medium-low once bubbling, stirring until the custard thickens. Remove from heat. Add in your 2 tablespoons of fresh coffee and mix well.
- Transfer the custard into your ramekins (or 8×8 pan) and cover tightly with plastic wrap so that wrap sits right on top of the custard. Allow to set for several hours in the fridge. The longer the better, but at least 5 hours is necessary.
- After allowing the custard to set, take the ramekins from the fridge and remove the plastic wrap. The custard should be the consistency of a thick pudding. Mix together the ingredients for your topping in small bowl. Use the back of your spoon to crush lumps that may exist in your brown sugar. It doesn’t need to be perfect but you don’t want clumps in your caramelized topping! Don’t forget the nutmeg and cinnamon. (You may have some left over.)
- When it it almost time for serving, use a spoon to sprinkle the topping on your custard. You want to create a medium-thick, even layer of the topping. It shouldn’t be too thick, so that it caramelizes all the way through, but also not so thin that it burns the custard.
- Use your torch to safely and carefully caramelize the sugar! You don’t want to focus the heat in one spot for too long, but simply move it back and forth over each ramekin in a smooth motion. You should see the sugars begin to bubble and brown. Be careful to avoid any black spots or burning! It may take several minutes to caramelize the topping.
- Once you get a nice, golden layer of caramelization on top, pop the ramekins back into the fridge for 10-15 minutes to ensure the custard underneath is nice and cool, then serve immediately!

I hope you enjoy this fancy, easy, and delicious dessert alternative. I would love your feedback on how i can improve this recipe even more!
